DD-WRT
a) Installing DD-WRT
DD-WRT is an alternative Linux based firmware for many today routers. It has many useful functions including OpenVPN client.
Well supported routers are for example ASUS RT-N66U, ASUS RT-N16, ASUS RT-N18U, TP-LINK TL-WR842ND and others. You can see the full list here. You should look for routers with at least 8MB of Flash memory as you need to use Big or Mega version of DD-WRT to get OpenVPN client running.
You can see compare DD-WRT firmware versions here.
The latest Firware (beta) can be found at their FTP. All versions are not always available via web.
Please read the instructions for flashing carefully as improper installation can brick you router.
I have used factory-to-ddwrt.bin on my TP-LINK TL-WR842ND as this image is the first DD-WRT installation.
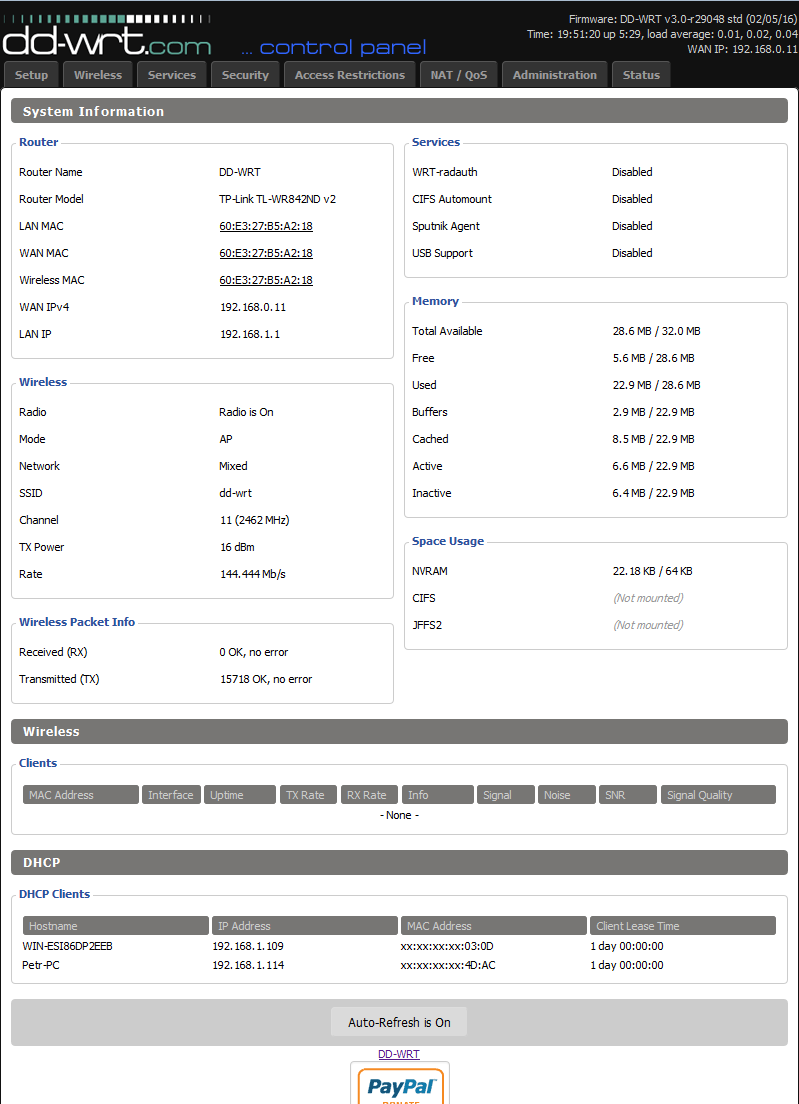
So we are up and running.
b) Using DD-WRT OpenVPN Client
Please follow these instructions for using Identity Cloaker OpenVPN:
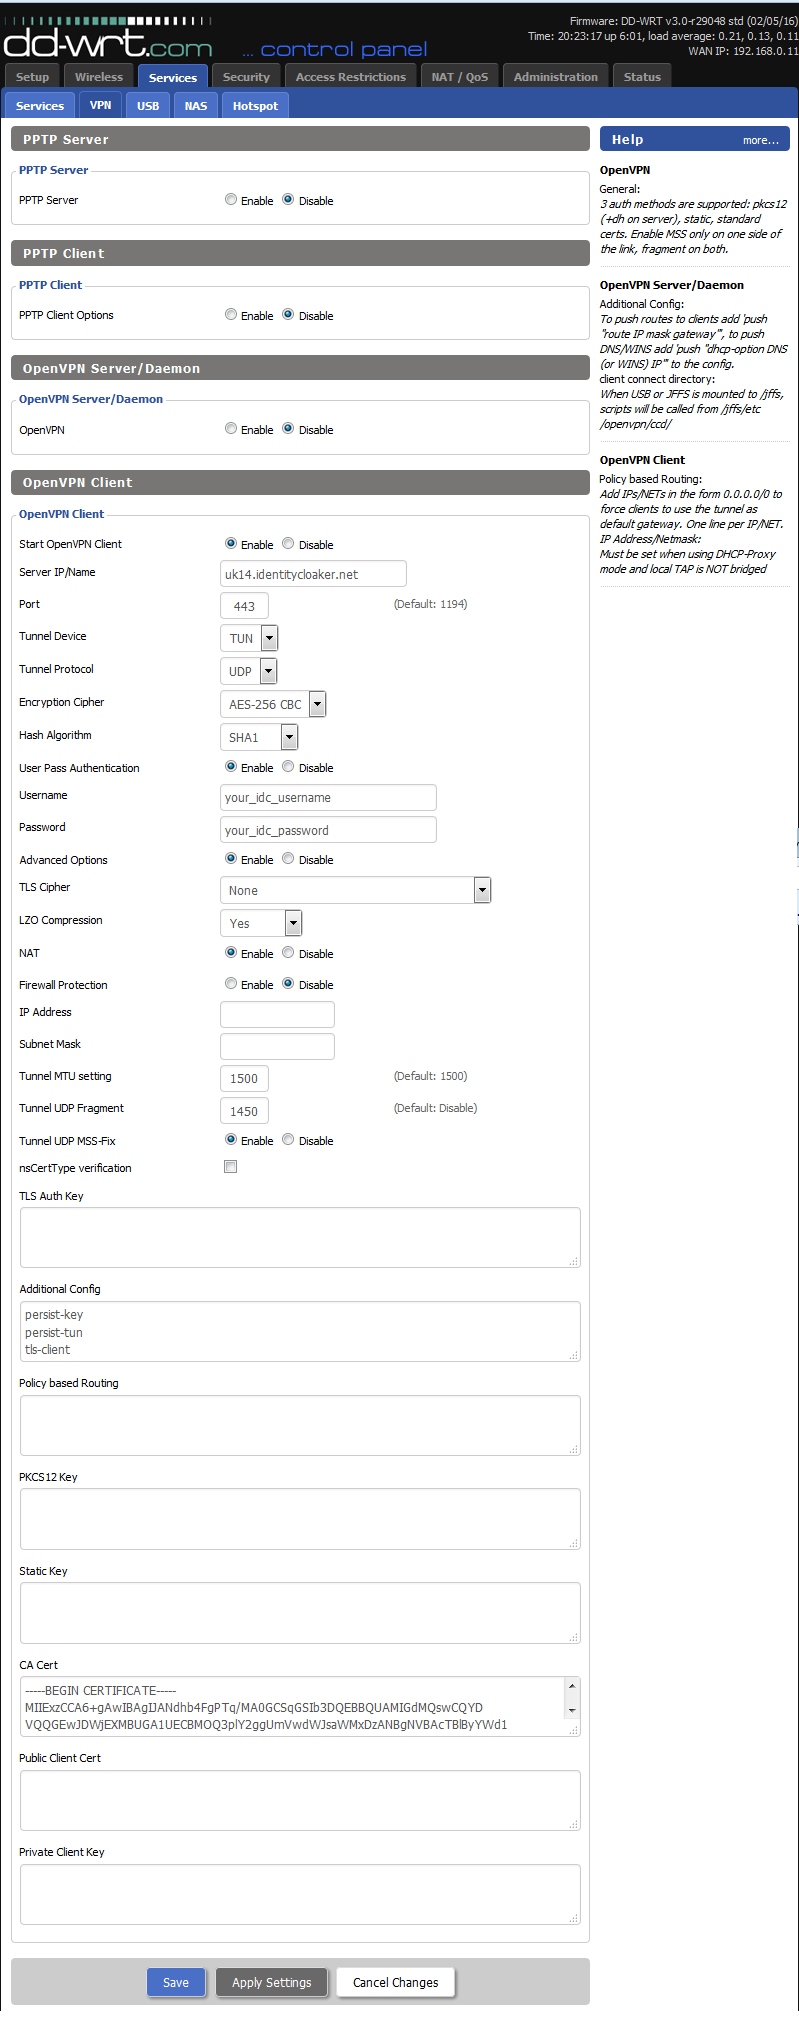
1) Click the "VPN" tab in the "Services" section, or just scroll down the "Services" page if you are using an old version of DD-WRT.
2) Enable the OpenVPN Client.
3) Set the Server IP/name to SERVER_NAME.identitycloaker.net * (Server Names described below the tutorial)
4) Set "Port" to 443.
5) Set "Tunnel Device" to TUN.
6) Set "Tunnel Protocol" to UDP.
7) Set "Encryption Cipher" to AES-256
8) Set "Hash Algorithm" to SHA1
9) Set the option "User Pass Authentication" to Enabled
10) Fill up your Identity Cloaker username and password (please see your Welcome mail).
Please note that Identity Cloaker username needs to be entered in lowercase. And it is not your email address. Identity Cloaker password is case sensitive.
11) Enable "Advanced Options"
12) Set TLS Cipher to "None"
13) Enable "LZO Compression" (Yes option)
14) Enable "NAT"
15) Disable Firewall protection option
16) Set Tunnel UDP Fragment to 1450.
17) Enable the option Tunnel UDP Fragment
18) Keep "nsCertType" unchecked
19) In the "Additional Config" copy and paste the following:
persist-key
persist-tun
tls-client
19) Copy and paste the contents of "ca.crt" into the CA cert field.
You can get it from this package (keys folder)
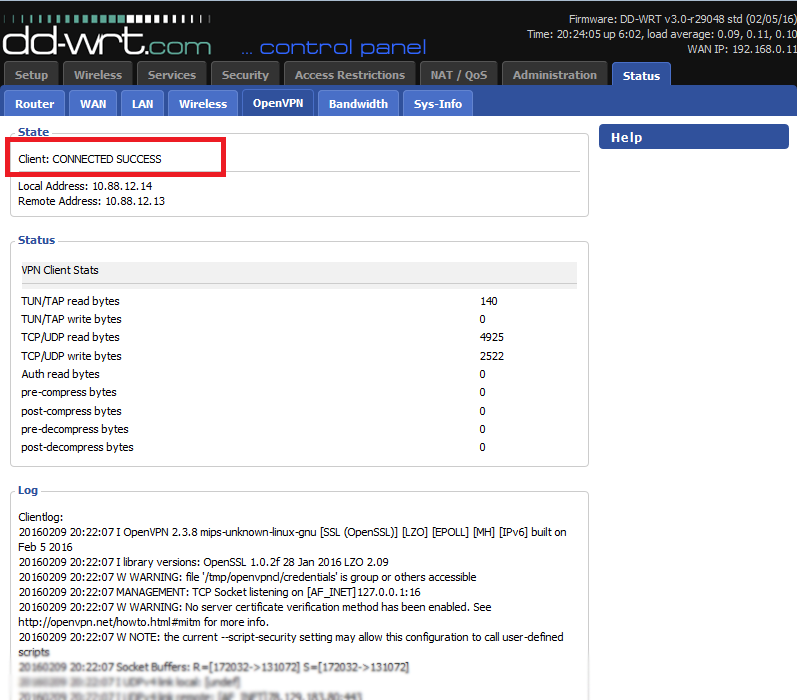
20) Click the "Apply settings" button and check VPN status at Status menu -> OpenVPN . You should see Connected notice there.
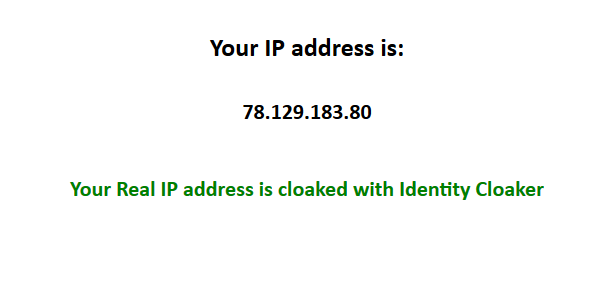
You can test your IP address here.
*Available servers (enter instead of the SERVER_NAME in step 5):
AU2, AT1, CA2 , CZ1, FR5, DE3, IE4, IT2, NL2, NO1, PL1, PT1, RU1, SG1, SP1, SE2, CH1, UK4, UK9, UK12, UK13, UK14, US4, US7
Updated version of our servers list can be found at your member area.